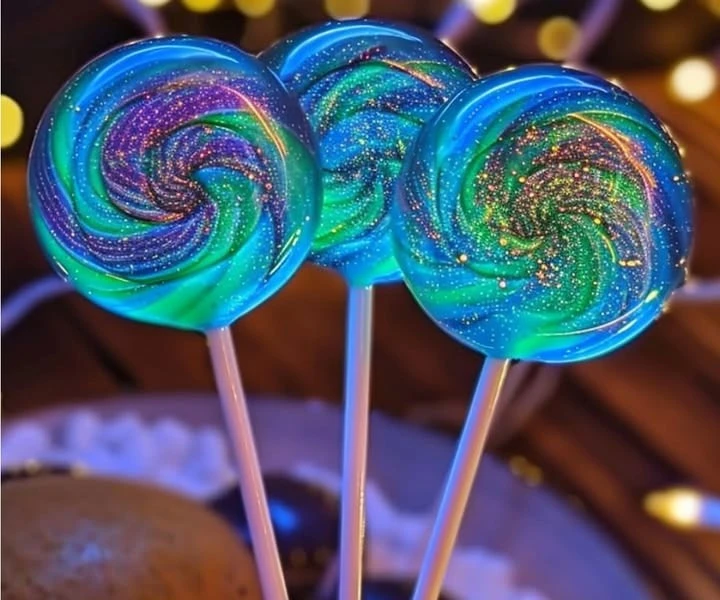
Mesmerizing sweets swirl with vibrant colors and a touch of shimmer, making every bite feel like a taste of the aurora itself….
Welcome to a world where candy meets magic! This recipe for “The Magic of the Southern Lights Captured in Candy Form” takes inspiration from the breathtaking beauty of the auroras. Imagine candies that swirl with vibrant colors and shimmer like the night sky. Each piece offers not just a treat for your taste buds, but also a feast for your eyes. In this article, we’ll take you through the process of creating these dazzling sweets right at home.
Why You’ll Love This Recipe
This recipe is special for many reasons. First, it brings the beauty of nature into your kitchen. The colorful swirls mimic the Southern Lights, giving an artistic touch to your sweets. Second, the candies are not just pretty; they’re delicious too! With vibrant flavors to match the colors, each bite is an adventure. Lastly, making these candies can be a great activity to do with friends or family. Kids will love to help, and everyone will be excited to taste the result. So, let’s dive into this delightful candy-making journey!
How to Prepare The Magic of the Southern Lights
Creating these candies involves a few simple steps that anyone can follow, regardless of cooking experience. We’ll guide you through everything you need to know to achieve the perfect candy version of the Southern Lights.
Ingredients:
- 2 cups granulated sugar
- 1 cup corn syrup
- 1 cup water
- Food coloring (blue, green, purple, pink)
- Edible shimmer dust
- Cooking spray or parchment paper for lining the pan
Instructions:
Prepare Your Workspace: Before you start, make sure your kitchen is ready. Spray a baking pan with cooking spray or line it with parchment paper to prevent the candy from sticking.
Mix the Ingredients: In a medium-sized pot, combine the granulated sugar, corn syrup, and water. Stir the mixture over medium heat until the sugar dissolves completely.
Boil the Mixture: Allow the mixture to come to a boil. Use a candy thermometer to monitor the temperature. You need it to reach 300°F (hard crack stage). This stage is important for achieving the right texture.
Divide the Mixture: Once it reaches the right temperature, remove it from heat. Quickly divide the hot candy mixture into separate bowls. You can start with three bowls for blue, green, and purple colors.
Add Colors: In each bowl, add a few drops of food coloring. Mix each bowl thoroughly until you achieve your desired shades. Be creative! You can make any color that reflects the beauty of the auroras.
Swirl the Colors: Pour the colored mixtures into the prepared baking pan. Use a skewer or knife to gently swirl the colors together. Be careful not to mix them too much; you want to see beautiful patterns.
Add Shimmer: As a final touch, sprinkle edible shimmer dust over the top of the candy mixture. This will give it that magical sparkle.
Cool the Candy: Let the candy cool completely in the pan at room temperature. This may take a few hours or overnight.
Cut and Enjoy: Once cooled, you can cut the candy into small pieces. Store them in an airtight container to keep them fresh.
How to Serve The Magic of the Southern Lights
These candies are perfect for any occasion. You can serve them at birthday parties, holiday gatherings, or simply as a sweet treat at home. Place the cut pieces in a decorative bowl and let your guests admire and enjoy them. They can also make great gifts; just wrap them in colorful cellophane bags tied with ribbons for a lovely presentation.
How to Store The Magic of the Southern Lights
To keep your Southern Lights candy fresh, store it in an airtight container. Make sure to keep it in a cool, dry place away from direct sunlight. This will help maintain the texture and flavor for a longer time. If you live in a humid area, consider adding a piece of wax paper between layers to prevent sticking.
Preparation Tips for The Magic of the Southern Lights
- Temperature Control: Use a reliable candy thermometer to ensure accuracy in temperature. Candy making is all about precision!
- Experiment with Flavors: You can infuse different flavors into your candy by adding extracts, such as vanilla, mint, or other fruit flavors.
- Safety First: Be careful when working with hot sugar syrup. It can cause burns if it gets on your skin. Always use caution and consider wearing heat-resistant gloves.
- Get Creative: Don’t hesitate to try different color combinations and patterns. The more colorful, the better!
Variation
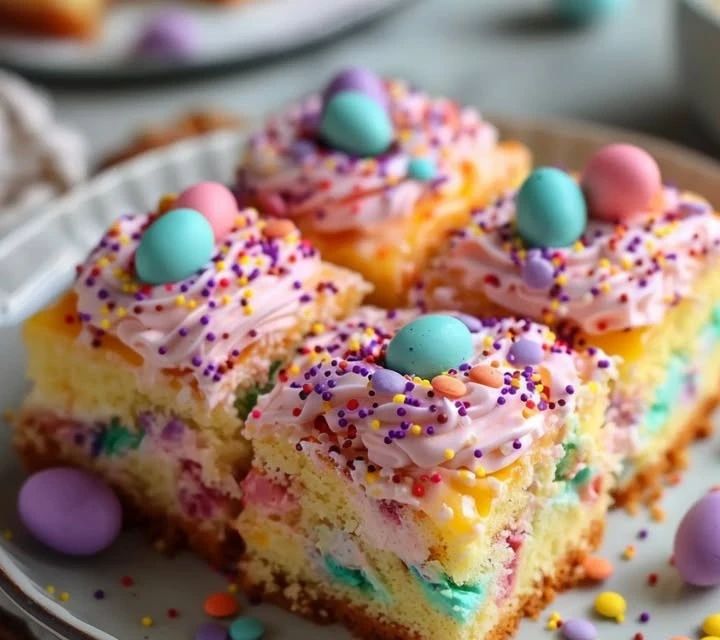
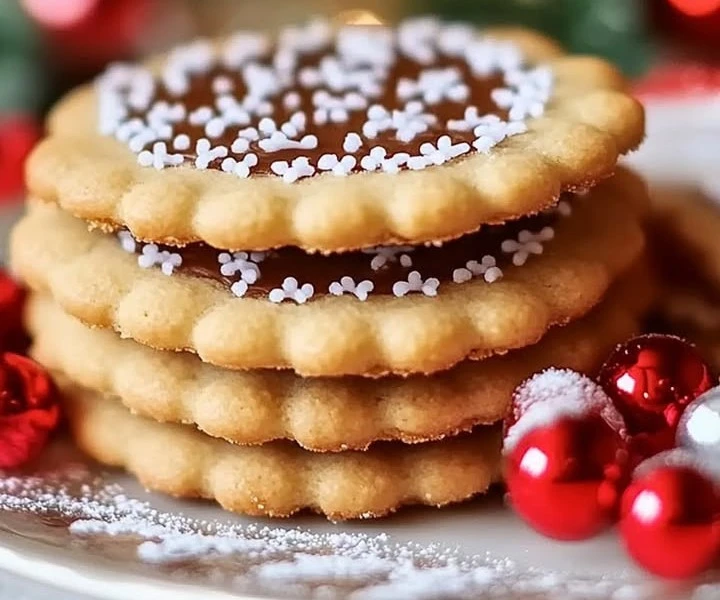
Feel free to get creative with this basic recipe! You can add different colors and flavors. If you want a sweeter candy, consider adding flavored extracts or essential oils after taking the mixture off the heat. Adjust the colors to suit your preferences or the season, like using red and green for Christmas or pastels for Easter. The possibilities are endless!
Frequently Asked Questions
1. Can I use natural food coloring?
Yes! If you prefer natural options, there are many natural food colorings available today. You can use beet juice for red, spinach for green, and purple sweet potato for purple.
2. How long will these candies last?
When stored properly in an airtight container, these candies can last up to 2-3 weeks. However, they are likely to be eaten much sooner due to their deliciousness!
3. What if I don’t have a candy thermometer?
If you don’t have a thermometer, you can test the candy by dropping a small amount into a glass of cold water. If it forms hard, brittle threads, it’s ready. This method is a bit tricky but works if you don’t have a thermometer.
With these delightful and colorful candies, you are sure to bring a bit of magic into your kitchen! Enjoy the process, experiment with flavors, and, most importantly, have fun sharing your creations with friends and family. Happy candy-making!